See Tools sandbox for a ready-to-run environment, or use the
Python SDK reference to install the SDK locally.
What the SDK is
The Dataerai Python SDK helps scripts and notebooks do the same file-transfer work you do in the web app. You’ll use it to:- Check who you are signed in as.
- Upload a file with progress.
- Read and update metadata.
- Download the file again.
- Confirm the round trip worked.
- Large files.
- Repeated uploads or downloads.
- Notebooks and automation.
- Browsing the full workspace.
- Sharing and permissions.
- Search.
- Project creation.
Technical details
Technical details
Project creation has no SDK method. The setup code uses a plain
requests
session against the public REST API: the same call the web app’s New project
button makes.Technical details
Technical details
Authenticate the CLI once with
dataerai auth login. The SDK has no
email/password parameters; auth_status() reports the signed-in email and
token expiry. Use the public REST API with an access token for setup calls the
SDK does not cover.1. Connect & authenticate
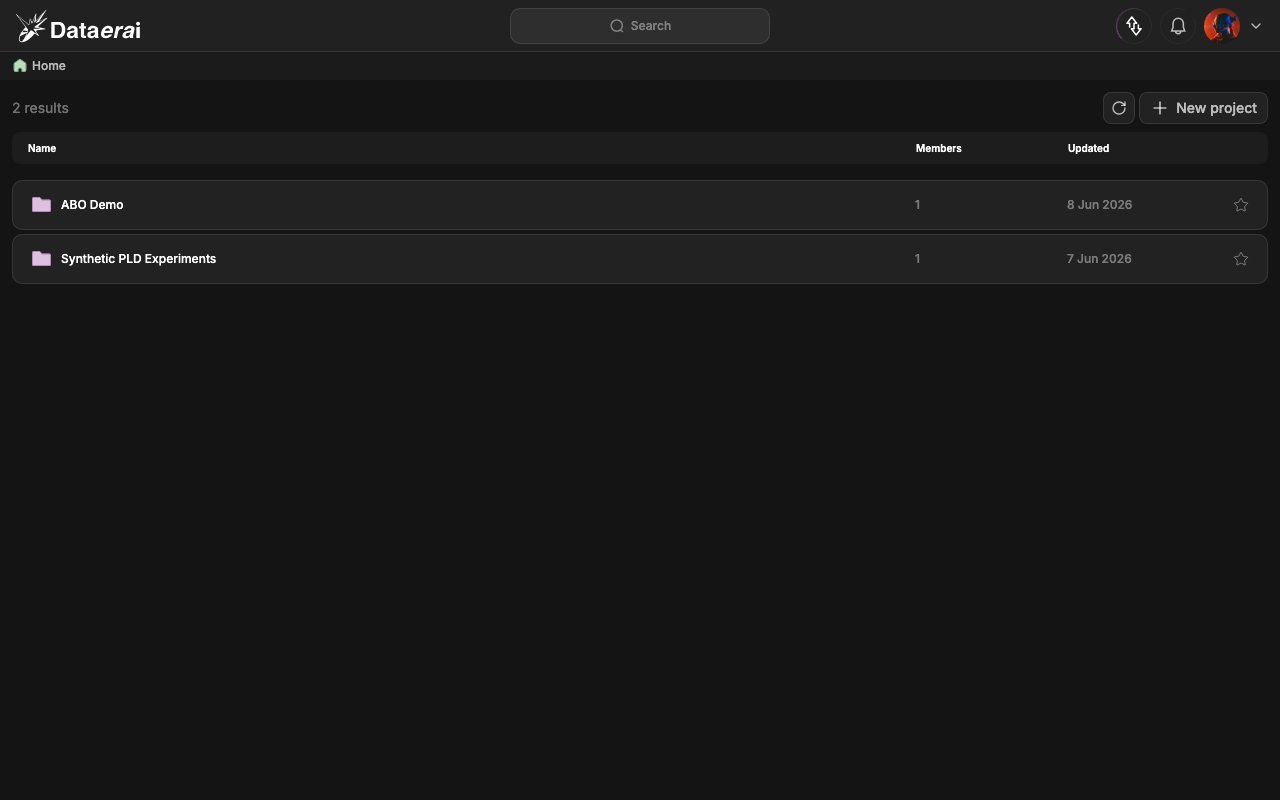
Open a client connection and confirm who you’re signed in as. The SDK reports the same identity the web app shows in the user account menu. In the app- Go to your Dataerai site and sign in with your email/password account or Globus.
- You land on Home, the workspace root listing your projects. Your signed-in identity lives behind the user account menu, top-right (see Account & profile).
dataerai auth login once at a terminal first (device-flow login), then:
Set up: create a project & sample file (from code)
Create the upload target first, then write a small CSV to upload. SetDATAERAI_SERVER to your Dataerai site and DATAERAI_TOKEN to an access token
for your account.
Technical details
Technical details
The setup uses the public REST API because project creation has no SDK method.
It calls the same
POST /api/projects/ action as the web app’s New project
button.- On Home, click the New project button in the header.
- Give the project a name and confirm — it appears in the Home list.
2. Upload with live progress
Upload the file into the project. The client streams progress events to youron_progress callback; upload() blocks until the transfer finishes and returns
an UploadResult carrying the new asset_id.
In the app
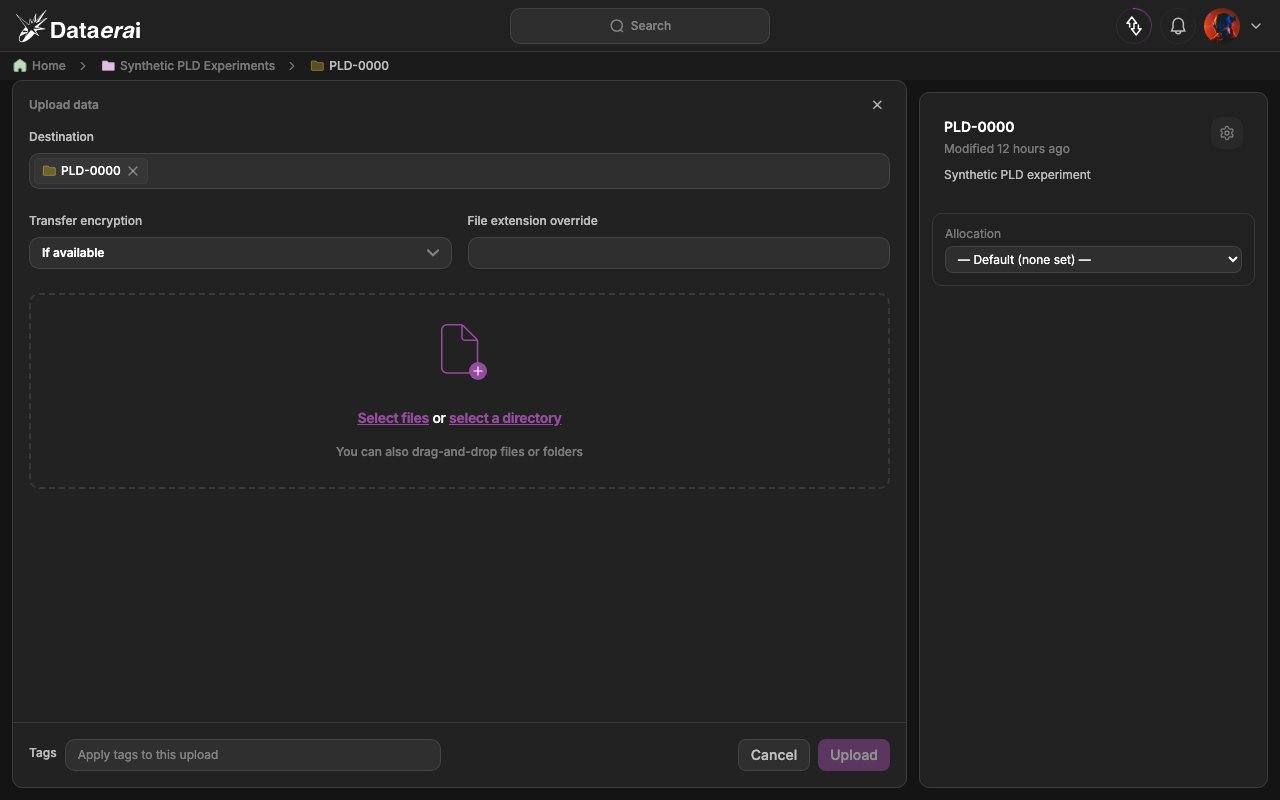
- Open the project and click Upload in the header.
- In the dialog, Select files or select a directory (or drag-and-drop), then confirm.
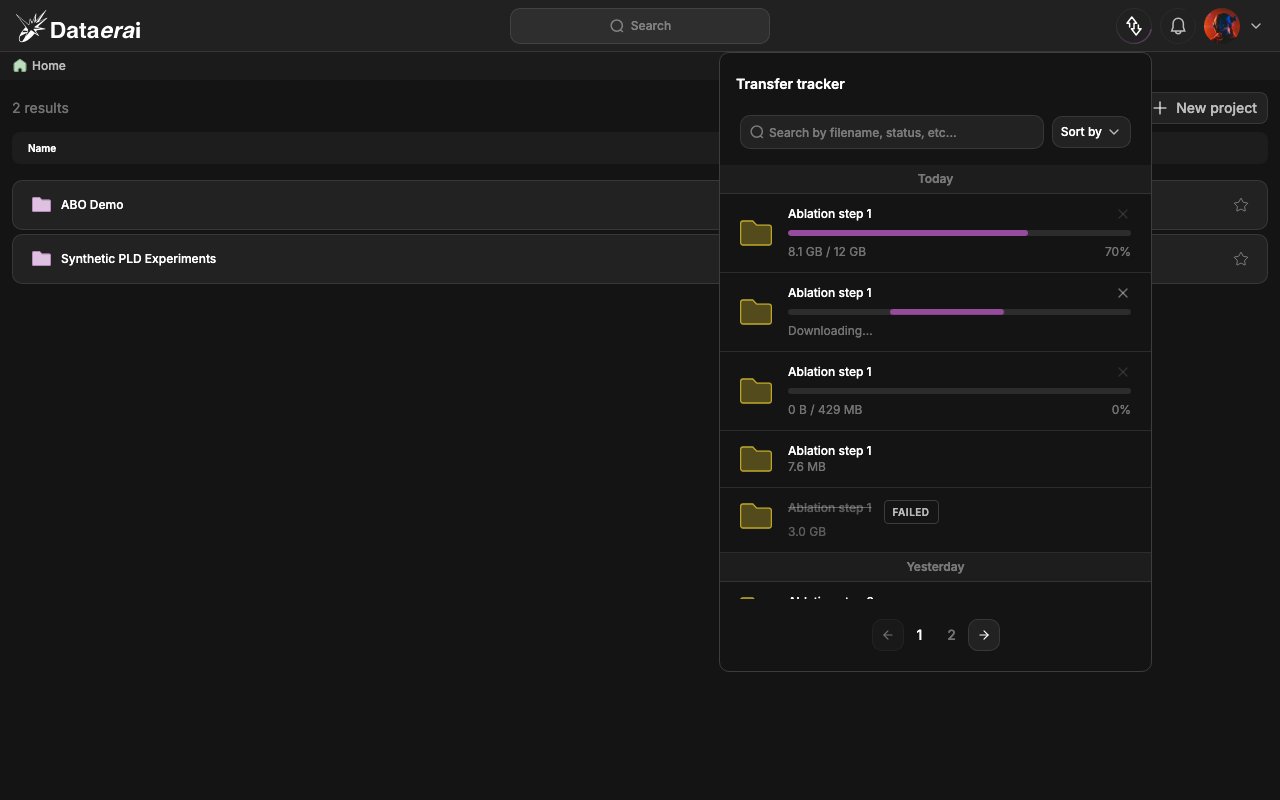
- Watch the Transfer tracker (top bar, Open transfer tracker) for the live
progress bar — the UI counterpart to the
on_progresscallback.
3. Read & update metadata
Read the asset’s current metadata, then update its title and tags.get_metadata() and set_metadata() operate on the same fields as the UI:
title, description, alias, tags, and the free-form metadata
dict.
In the app
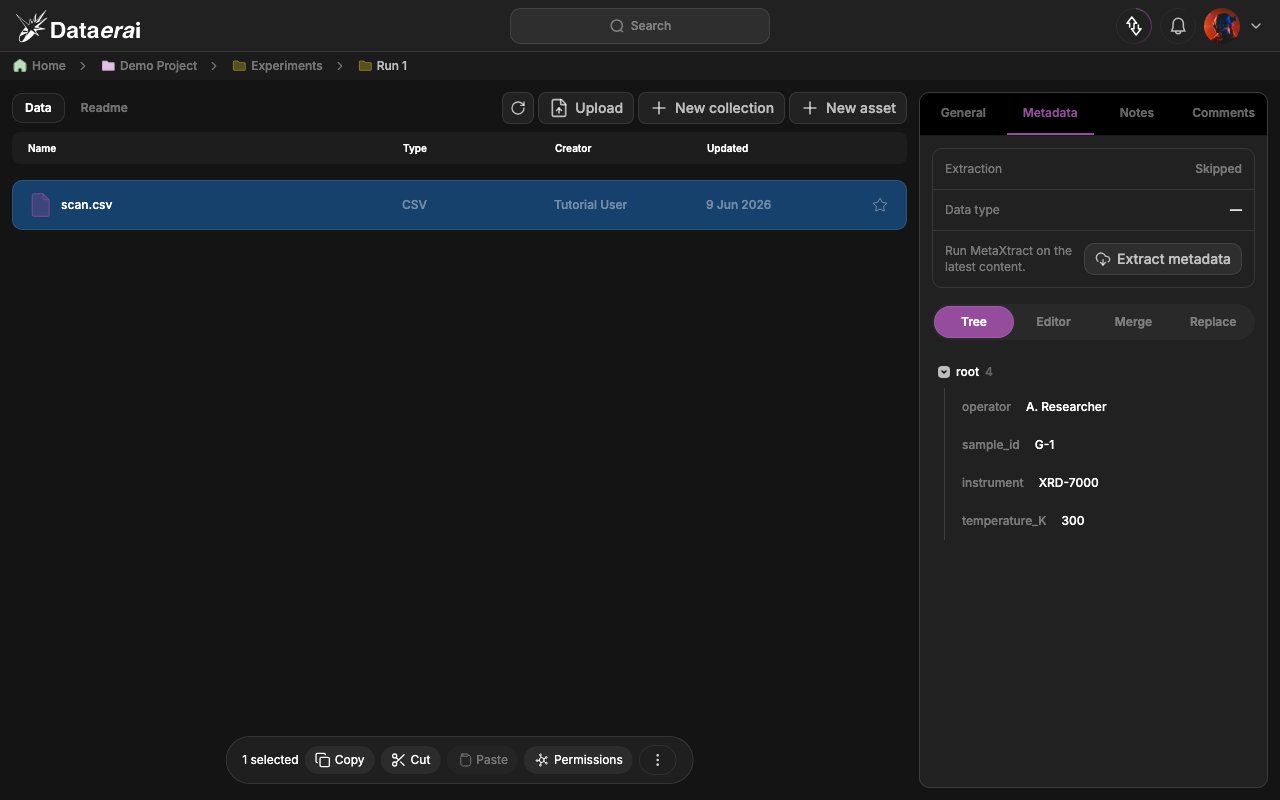
- Open the project and single-click the asset row to open the right-hand detail sidebar.
- Edit Title, Tags, and Description in the overview panel (editing is gated by the write metadata permission, so you’ll see the controls only when you can edit).
4. Download & verify
Download the asset’s content back to a local directory to confirm a clean round-trip. By default the client fetches the latest content version (passcontent_id= for a specific one); partial downloads resume automatically.
client.close() closes the client connection.
In the app
- Open the asset and use its download action; the transfer again appears in the Transfer tracker.
See it in the workspace
Assets you create from code appear in the web workspace immediately — same data, two interfaces. Open Home and you’ll see the SDK-created project and asset listed alongside everything else.