

- Metadata for structured facts such as instrument, temperature, or sample id.
- Notes for free-form Markdown about one asset.
- Readme for a project-level overview.
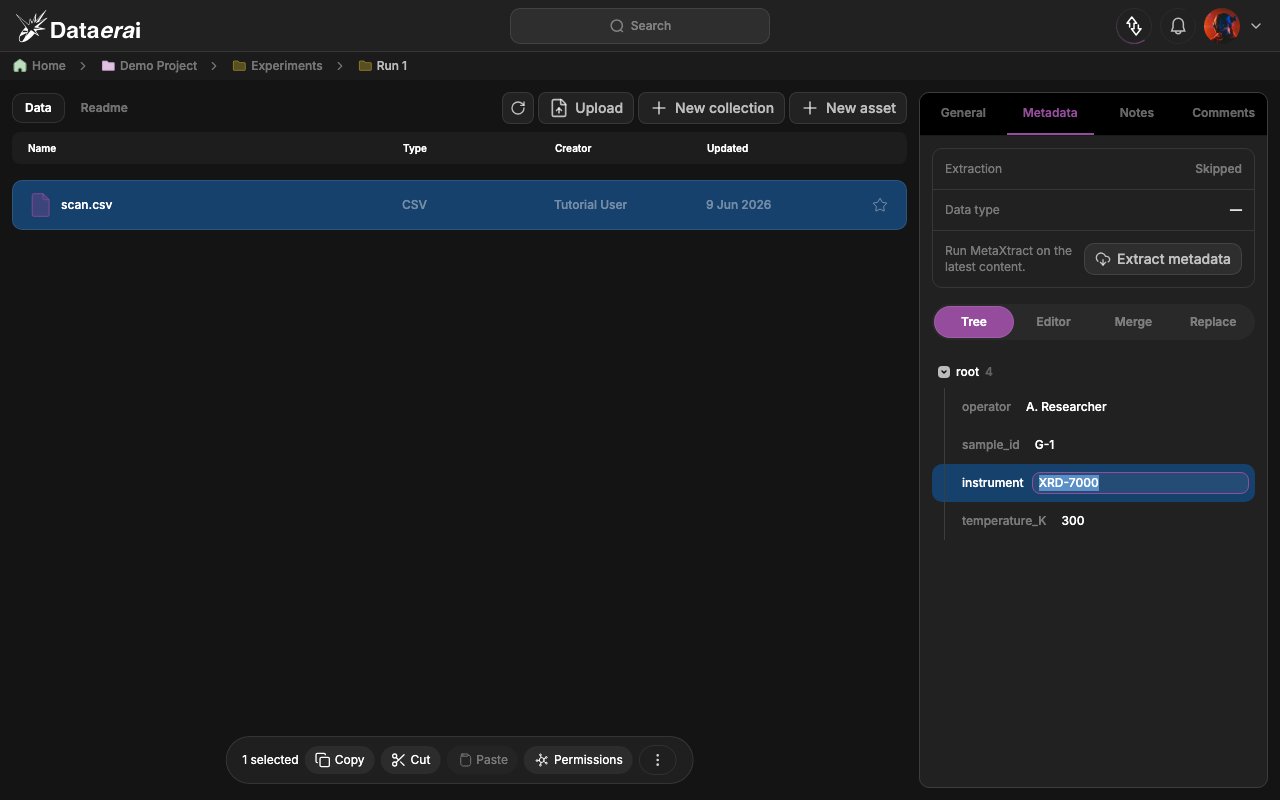
- Editing metadata in the app.
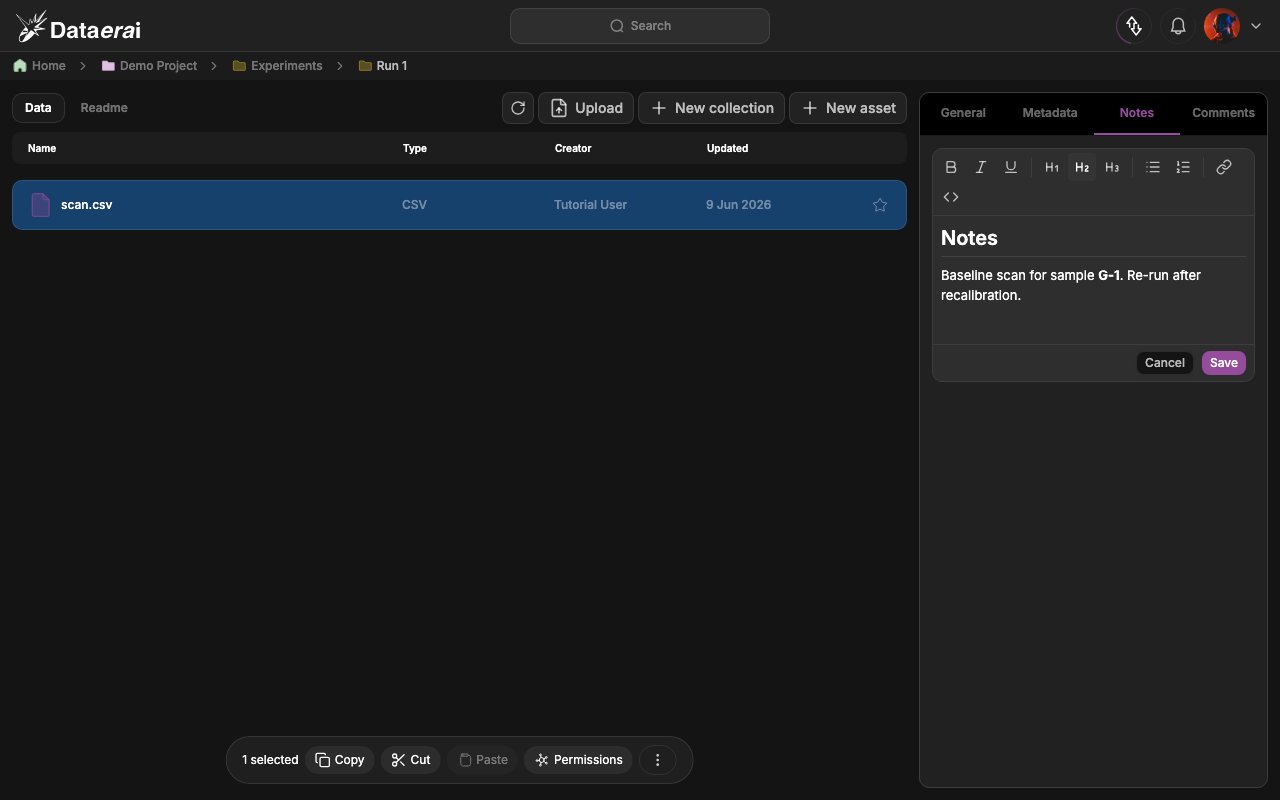
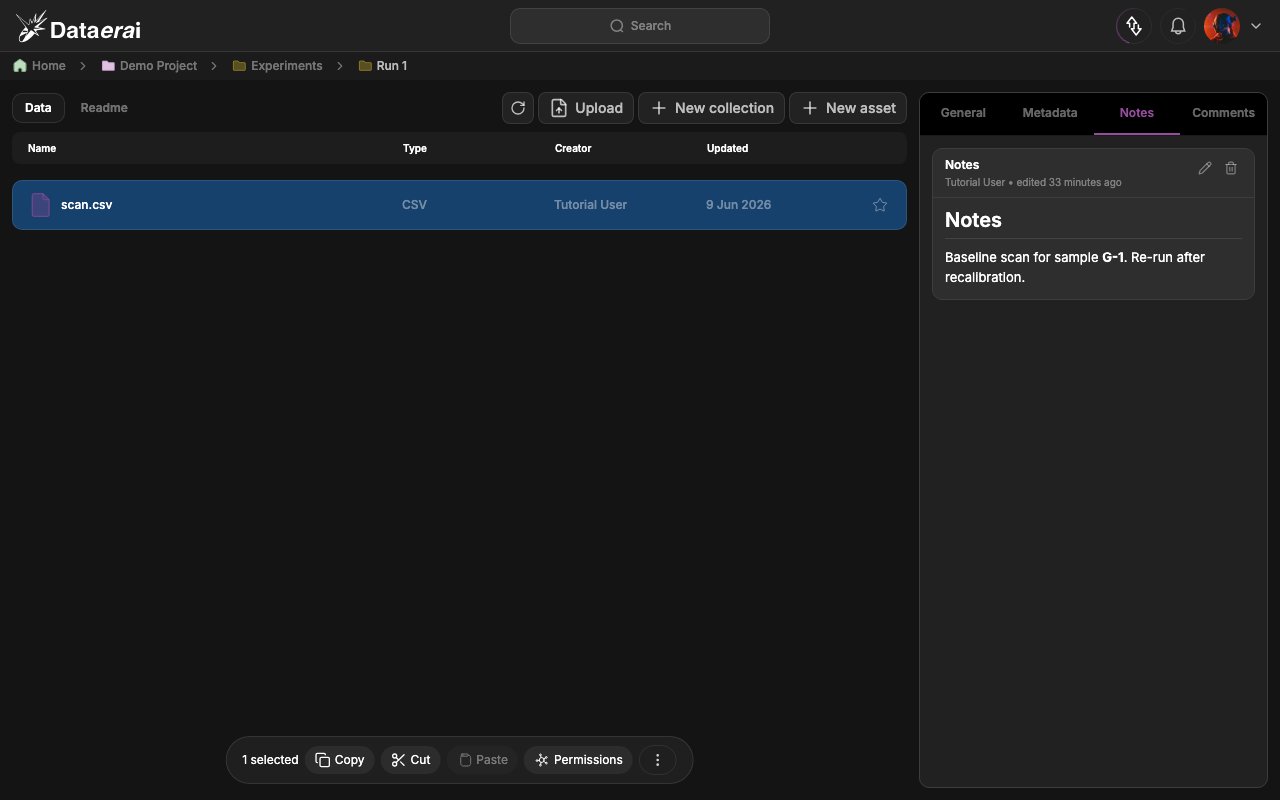
- Adding and removing a note.
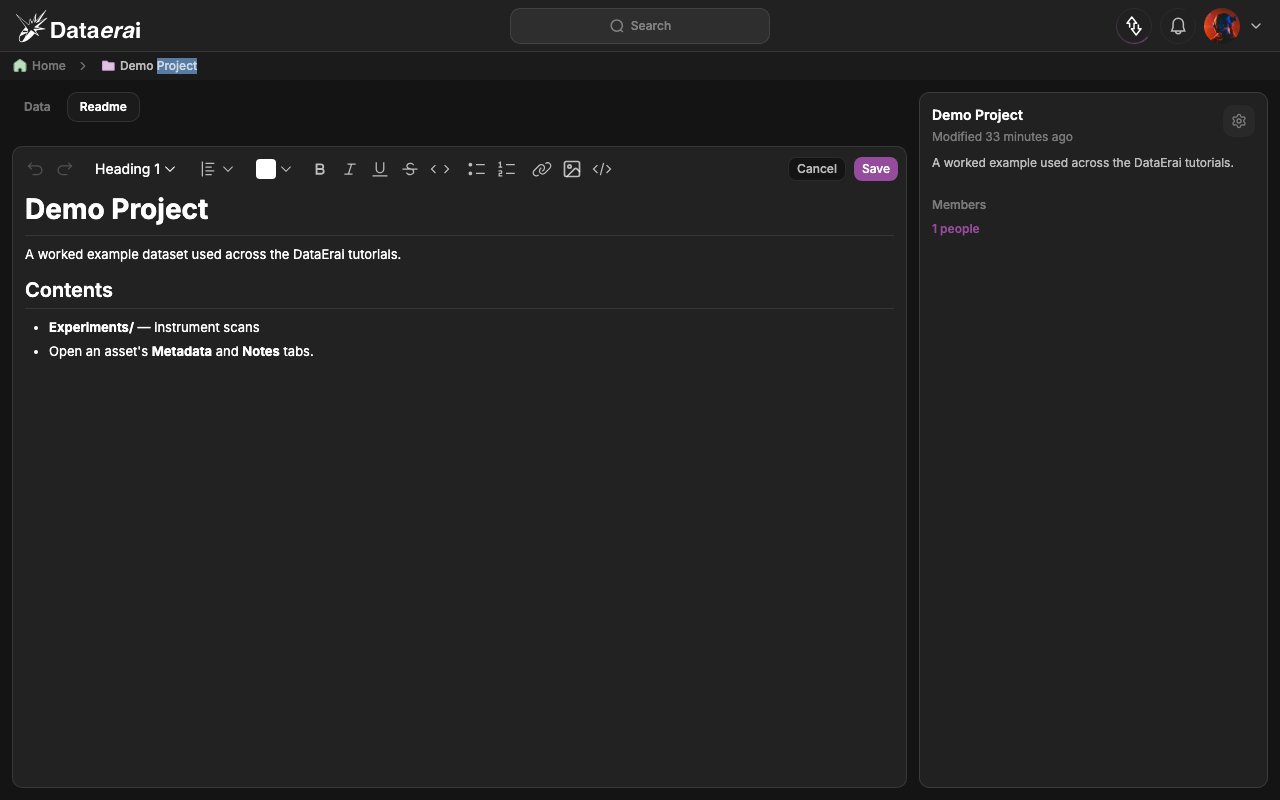
- Creating a project Readme.
- Moving items with copy, cut, paste, and delete.
- Notes are one per asset.
- Comments are separate from notes.
- A Readme belongs to a project, not an individual collection.
Technical details
Technical details
Metadata values must be a JSON object and a
PATCH replaces the whole object,
so code examples use read-modify-write. Notes are last-write-wins with no
conflict detection. The README is stored as an ordinary asset named
README.md, so editing it means uploading replacement content.Metadata
Metadata is a per-asset JSON object (the asset’smetadata field) for structured,
queryable facts: instrument, temperature, sample id, and so on. You can hand-edit
it, or — for supported instrument files (.h5, .xrdml, .dm4, .ibw) — let
Dataerai populate it automatically.
Technical details: editable and extracted metadata
Technical details: editable and extracted metadata
The Metadata tab shows
current_content.extracted_metadata (auto-extracted metadata) when it exists and only
falls back to the editable metadata field otherwise. When extracted metadata is
present the Tree/Editor views are read-only and the Merge/Replace modes are
hidden. Editing always writes the asset’s own metadata field. That’s why the
tutorial uses a .csv (extraction is skipped), so the editor stays writable.In the app
- From Home, double-click your project, then a collection, to open the Data list.
- Click an asset row to open the right-hand record sidebar, then click the Metadata tab.
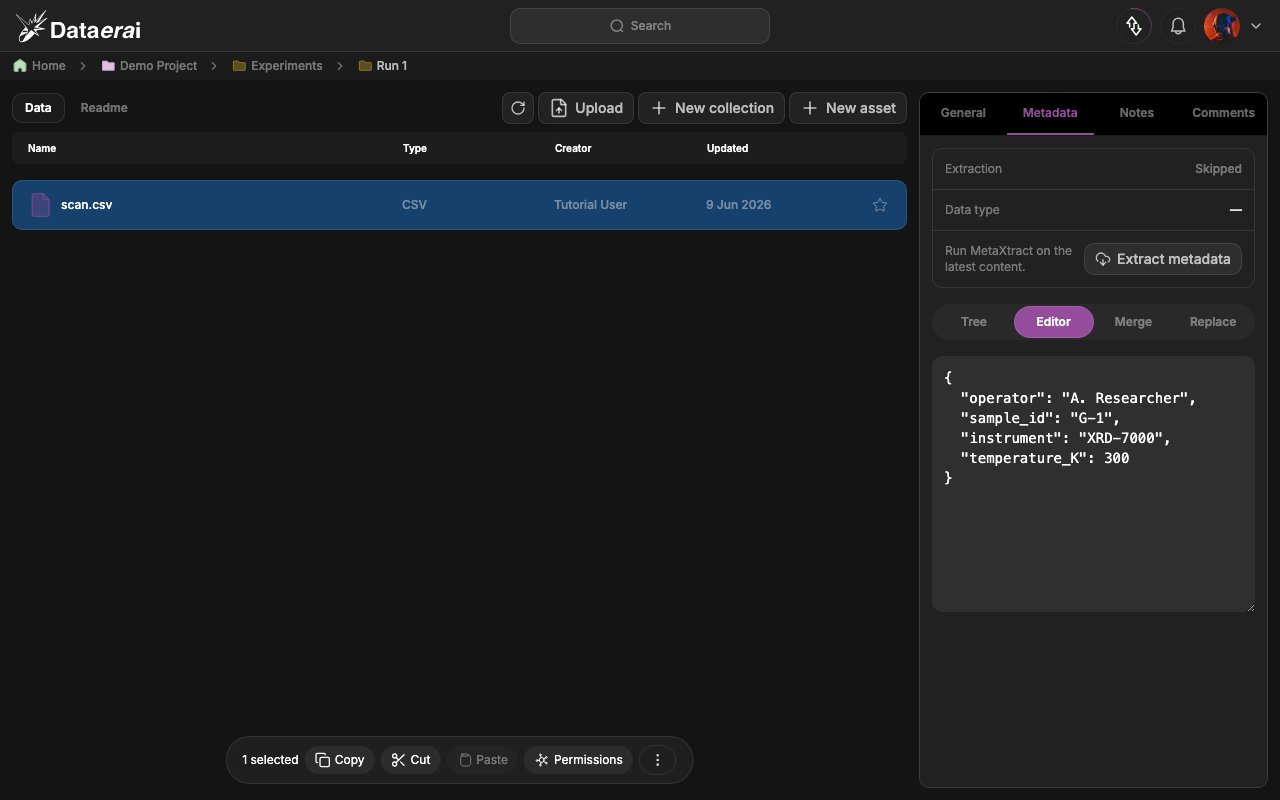
- The pill control offers Tree and Editor. In Tree mode, click a field value to edit it, or use the + affordance to add a key; in Editor mode you see the same object as formatted JSON.
- A sticky Cancel / Save bar appears at the bottom once you have changes — click Save to write them back.
From code
Read the asset first, update a copy of itsmetadata, and save it back.
Technical details
Technical details
PATCH replaces the whole metadata object, so read-modify-write preserves
existing keys. metadata must be a JSON object or the API returns 400.set_metadata (and get_metadata to read):
Notes
The Notes tab holds a single free-form Markdown note per asset — a canonical place for descriptions, lab-notebook entries, and caveats. It is one note per asset (not a thread): writing again replaces the body. Don’t confuse it with the Comments tab, which is the threaded, multi-author surface.The note is capped at 1 MiB. Its
author records the first writer and is
preserved on later edits (last-write-wins, no conflict detection).In the app
- With an asset selected, click the Notes tab in the record sidebar.
- The empty state shows “No note yet for this record. Capture context, observations, or links here.” and an Add note button.
- Click Add note to open the rich-text / Markdown editor (Bold, Italic, Underline, Heading 1–3, bullet & numbered lists, a Link popover, inline code), type your note, and click Save.
- A saved note shows its title (the first heading/line), the author and edited <time>, plus a pencil to edit and a trash icon to delete.
From code
The notes tab is a single Markdown body. There is no SDK method for the note, so we use the same authenticated session.Technical details
Technical details
The note lives at
/api/assets/{id}/markdown-note/: GET reads it (404 when
none exists yet), PUT creates or updates it (201 on first create, 200 on
later edits), and DELETE removes it.Project README
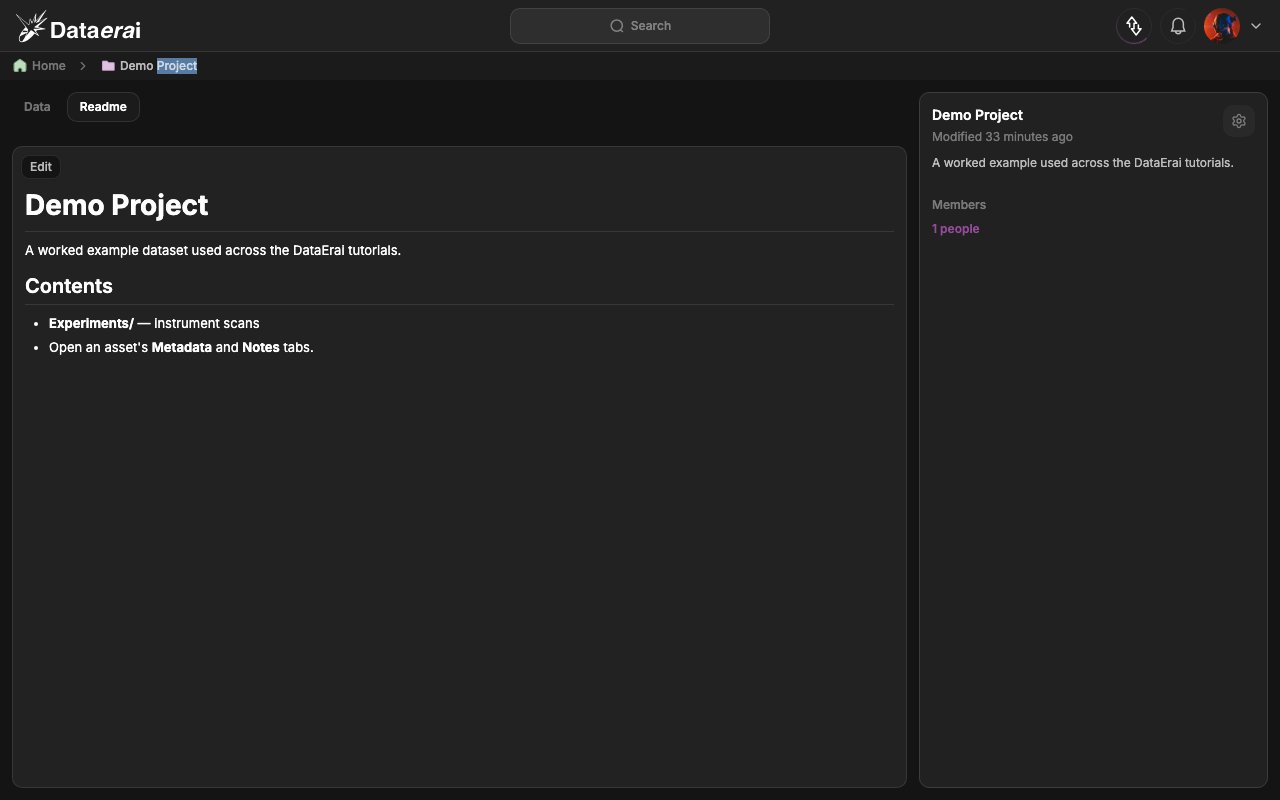
A project README gives the whole project a front page. It is rendered as Markdown on the project’s Readme tab. README is project-only (there is no per-collection README).Technical details
Technical details
Under the hood, the README is an ordinary asset named
README.md in the
project’s root collection. There is no dedicated README endpoint; editing it
means uploading new content.In the app
- Open a project from Home. The top tab bar shows Data | Readme.
- Click Readme. The empty state shows a document icon, “Add a README”, and a purple Add Readme button.
- Click Add Readme to open the full editor (headings, lists, tables, images, code blocks, links), write your overview, and save.
- When a README exists the tab renders the Markdown with an Edit button to revise it.
From code
First find the project’s root collection, then look for an existingREADME.md
asset in it (this is exactly how the UI discovers the README). To add or replace the
README, upload a README.md file into that root collection. Re-running the
upload updates the existing README by title.
README.md and upload it into the root collection. Re-running this
upserts by title, so it doubles as the “edit” path.